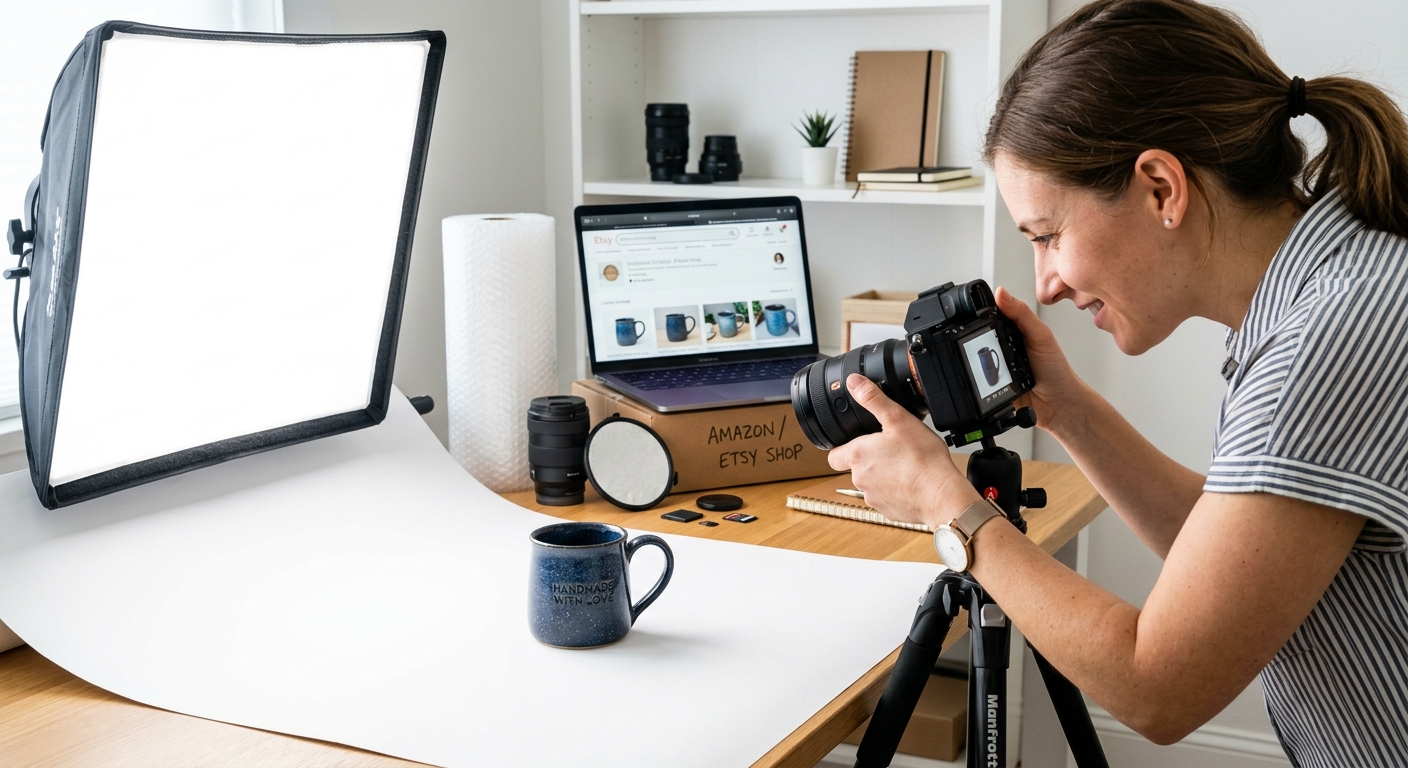
Your product is great. Your packaging looks sharp. You grabbed your iPhone, set up a clean background, and took thirty photos from every angle. Then you try to upload one to Amazon and it gets rejected because the background is not pure white, the image dimensions are off, or the file type is not supported. That frustration is more common than most sellers admit, and the fix is simpler than most tutorials make it sound.
This guide walks through a practical, sequential process for turning raw phone photos into marketplace-compliant images using only free tools. No subscriptions. No design software. No guesswork about platform specs.
Workflow Snapshot
Getting marketplace-ready product photos without Photoshop comes down to four sequential steps done in the right order, using tools you can open in any browser.
- Convert phone photos to JPG or PNG first, because HEIC files from iPhones break most online editing tools before you even start.
- Use a free AI background removal tool to get a clean, white or transparent cutout without manual selection work.
- Resize and compress the final file to match each platform's specific requirements before uploading to your listing.
Why Raw Phone Photos Usually Need Work Before You Edit
Modern smartphones, especially iPhones, shoot in HEIC by default. HEIC is a highly compressed format that saves storage space on your device, and it looks fine on your phone screen. The problem is that most browser-based editing tools do not accept it. Background removers, resizers, and compressors all expect JPG or PNG. If you skip the conversion step, you will hit errors before editing even begins.
Beyond the format issue, raw photos often have inconsistent lighting, slightly tilted framing, or colors that shift between shots because of mixed light sources. None of that requires Photoshop to fix. But it does need to be addressed before your image goes live on any marketplace.
Here is what typically needs attention in a raw product photo:
- File format mismatch, specifically HEIC instead of JPG or PNG
- Background clutter or hard shadows that make AI cutouts messy
- Inconsistent white balance between multiple product shots in the same set
- Oversized file dimensions that slow down page load and sometimes trigger upload errors
Converting HEIC Files First, Before Anything Else
Format conversion is the unglamorous first step that most tutorials skip. Do not skip it. If your iPhone is set to shoot in High Efficiency format, every image you captured is in HEIC. That means conversion to JPG or PNG must happen before any tool in your workflow can open the file.
There are several ways to handle this at zero cost. You can change your iPhone camera settings to shoot in "Most Compatible" mode going forward, which outputs JPG automatically. For existing HEIC files already on your phone or computer, a browser-based converter gets the job done without installing anything. A good place to start is this collection of free image tools, which covers format conversion alongside other basic adjustments you might need before background removal begins.
Once every file is in JPG or PNG format, the rest of the workflow becomes straightforward. You have a file that all the tools in the next steps can actually open and process.
Removing the Background with AI Tools
Background removal is the step that used to require Photoshop's Pen Tool and a couple of hours of careful, tedious clicking. AI has changed that process entirely. Free AI-powered tools can detect product edges, separate foreground from background, and output a clean cutout in seconds. The quality is good enough for marketplace listings on most standard products.
For AI background removal to work cleanly, your original photo should have reasonable contrast between the product and the surface beneath it. A product sitting on a light gray surface against a white wall removes much more cleanly than a dark product on a dark table. If your shooting setup allows it, a simple white foam board as a backdrop saves significant cleanup time later.
After the background is removed, you will typically receive a PNG with a transparent background. Most marketplace platforms want either a transparent PNG or a pure white background. For Amazon in particular, the main listing image must have a pure white background at RGB 255, 255, 255. You can fill the transparency with white inside most free image editors before saving the final JPG for upload.
According to web image format documentation maintained by the web standards community, PNG files support transparency natively while JPG does not. This is why PNG is the standard handoff format between your background removal step and your final resizing pass.
Resizing for Marketplace Dimensions
Every platform has minimum and maximum pixel dimensions for product images. Getting this wrong is one of the most common reasons listings look blurry or fail quality checks during review. The general rule across platforms is that the long side of your image should be at least 1000 pixels, and ideally 1600 pixels or more, so buyers can zoom in without the image going soft.
Here is a simple, repeatable order of operations for each image in your product set:
- Export your cutout PNG from the background removal tool at the original resolution, without downsampling.
- Open it in a free image resizer and set the long side to 2000 pixels while keeping the aspect ratio locked.
- Place the resized product on a white canvas sized to the platform's required aspect ratio: 1:1 square for Amazon main images, 5:4 or flexible for Etsy.
- Export as JPG at 80 to 85 percent quality for a solid balance of sharpness and file size.
- Run a final compression pass to bring the file under the platform's upload size limit.
Doing this in the correct order prevents quality loss from double-compression. Resize first, compress last. That sequence matters more than the specific tools you use.
Compressing Without Killing Your Image Quality
File size matters for two reasons: platform upload limits and page load speed. Most marketplaces cap individual image uploads somewhere between 5MB and 10MB. That is easy to stay under if you compress sensibly. The goal is not the smallest possible file, but the cleanest image that fits within the limit.
Lossy compression at moderate quality settings, around 80 to 85 for JPEG, is almost always enough. The visual difference between 85 percent and 100 percent quality is invisible to most buyers, but the file size difference is real. A few factors that affect file weight more than people expect:
- White or near-white backgrounds compress extremely efficiently in JPEG format, so product-on-white images are naturally lighter files than lifestyle shots.
- Saving at 72 DPI versus 300 DPI makes no visual difference on screen, but many tools save at 300 by default, which inflates file size unnecessarily.
- Stripping embedded EXIF metadata from your phone camera can trim several kilobytes per image without any visible change to the photo.
Amazon, eBay, and Etsy Image Requirements Compared
Each platform has its own specific image rules, and a single workflow step that fails on one platform might pass on another. Knowing the differences upfront saves you from having to redo images after a listing rejection.
Platform Image Spec Reference
| Requirement | Amazon | eBay | Etsy |
|---|---|---|---|
| Minimum pixels (long side) | 500px (1000px for zoom) | 500px | 2000px recommended |
| Recommended pixels | 1600px or more | 1600px | 2000px |
| Main image background | Pure white (RGB 255, 255, 255) | White preferred, not required | No strict background rule |
| Accepted file formats | JPEG, PNG, TIFF, GIF | JPEG, PNG, GIF, TIFF, BMP | JPEG, PNG, GIF |
| Maximum file size | 10MB | 7MB | 20MB |
| Aspect ratio | 1:1 for main image | Flexible | 5:4 preferred |
| Text or watermarks on main image | Not allowed | Not allowed | Not recommended |
A few patterns stand out immediately. Amazon has the strictest background requirement, which is exactly why the white background step in this workflow matters most for Amazon sellers. Etsy gives you more creative latitude with backgrounds, but its 2000px recommendation still means you need a high-resolution source image to start with. eBay sits between the two, with practical requirements that most modern phone cameras already satisfy once you have handled the file format issue.
From Raw Shot to Ready Listing: Zero Cost, One Clear Path
The workflow is not complicated once the steps are in the right sequence. Convert your HEIC files. Remove the background. Resize to platform specs. Compress the final output. That is the complete process, and every stage can be done with free tools you can open in a browser tab right now.
The biggest time savings come from running this consistently across every product set. Build a simple folder structure: one folder for raw photos, one for converted files, one for background-removed PNGs, and one final folder for compressed, platform-ready JPGs. Run each batch through the stages in order rather than jumping between steps for individual images. Within a few listings, the whole process becomes fast enough that photo prep stops feeling like the hardest part of selling online.
Getting compliant images is not about having better equipment or more expensive software. It is about knowing the steps, following them in the right order, and using the right free tools for each stage. Your product photos can meet every platform requirement without spending a cent, and without ever opening Photoshop.